Failing to find affordable brass ferrules for tool handles and chisels, I decided to create my own. I’ve seen other people make their own ferrules from copper and stainless steel pipes, so I knew it wasn’t that hard to do.
All this started when I secured some affordable African Teak for making chisel handles. Although there are many pre-made brass ferrules on Amazon, they were expensive, and I only needed four. So here’s my DIY solution to making brass ferrules.
You’ll need about three inexpensive tools which you probably already own. It’s not that complicated.
Tools You Need for Making Brass Ferrules
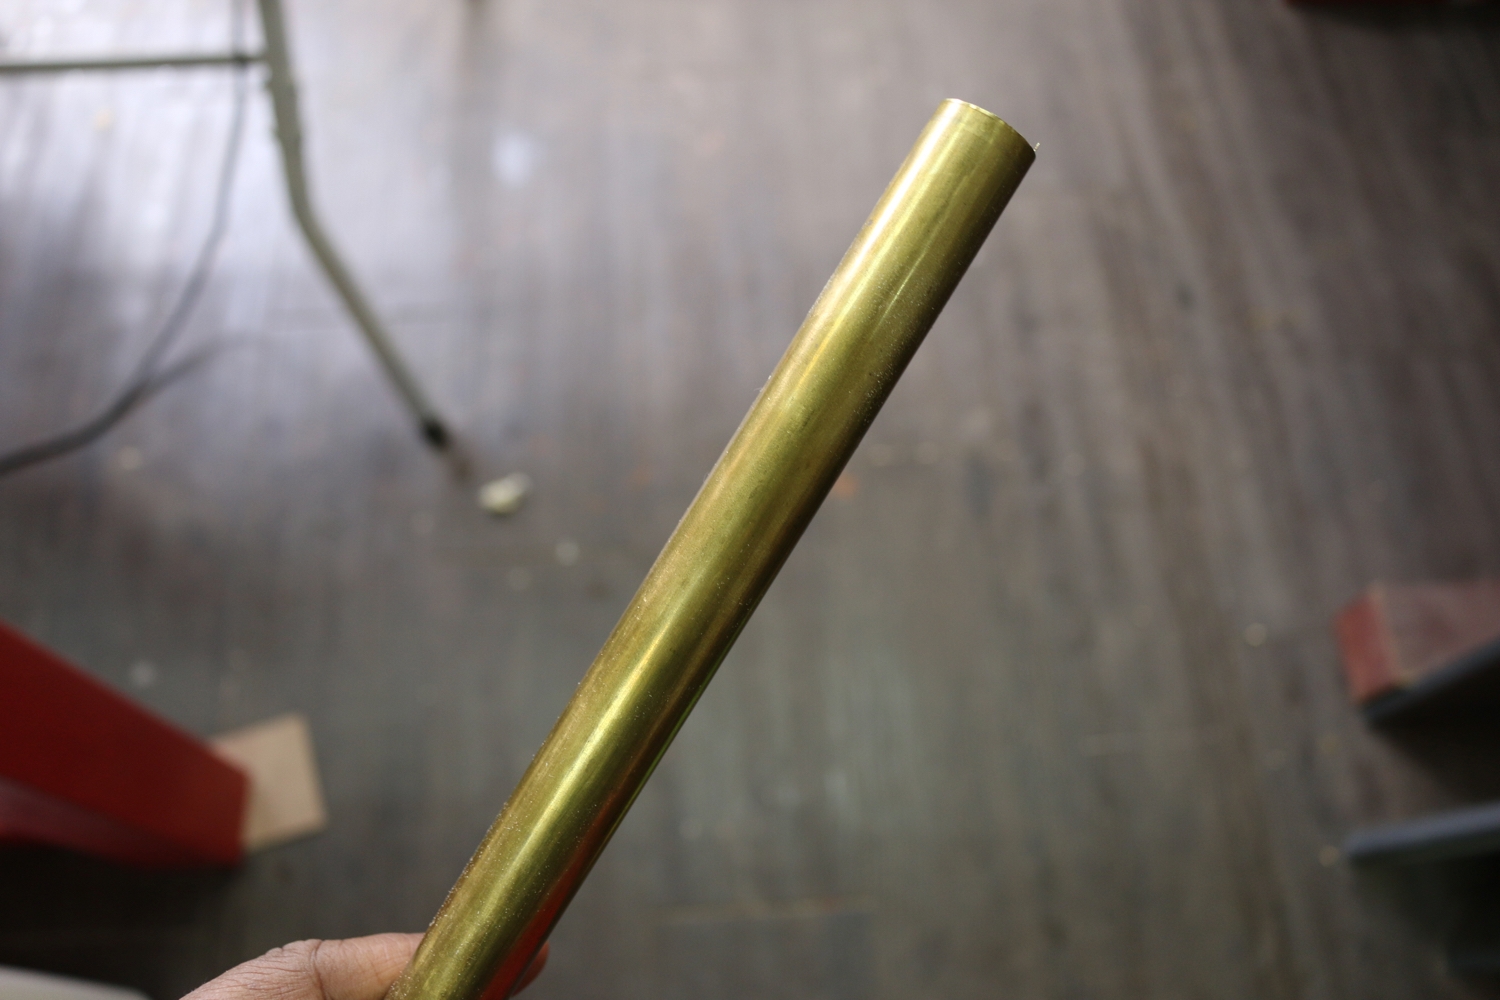
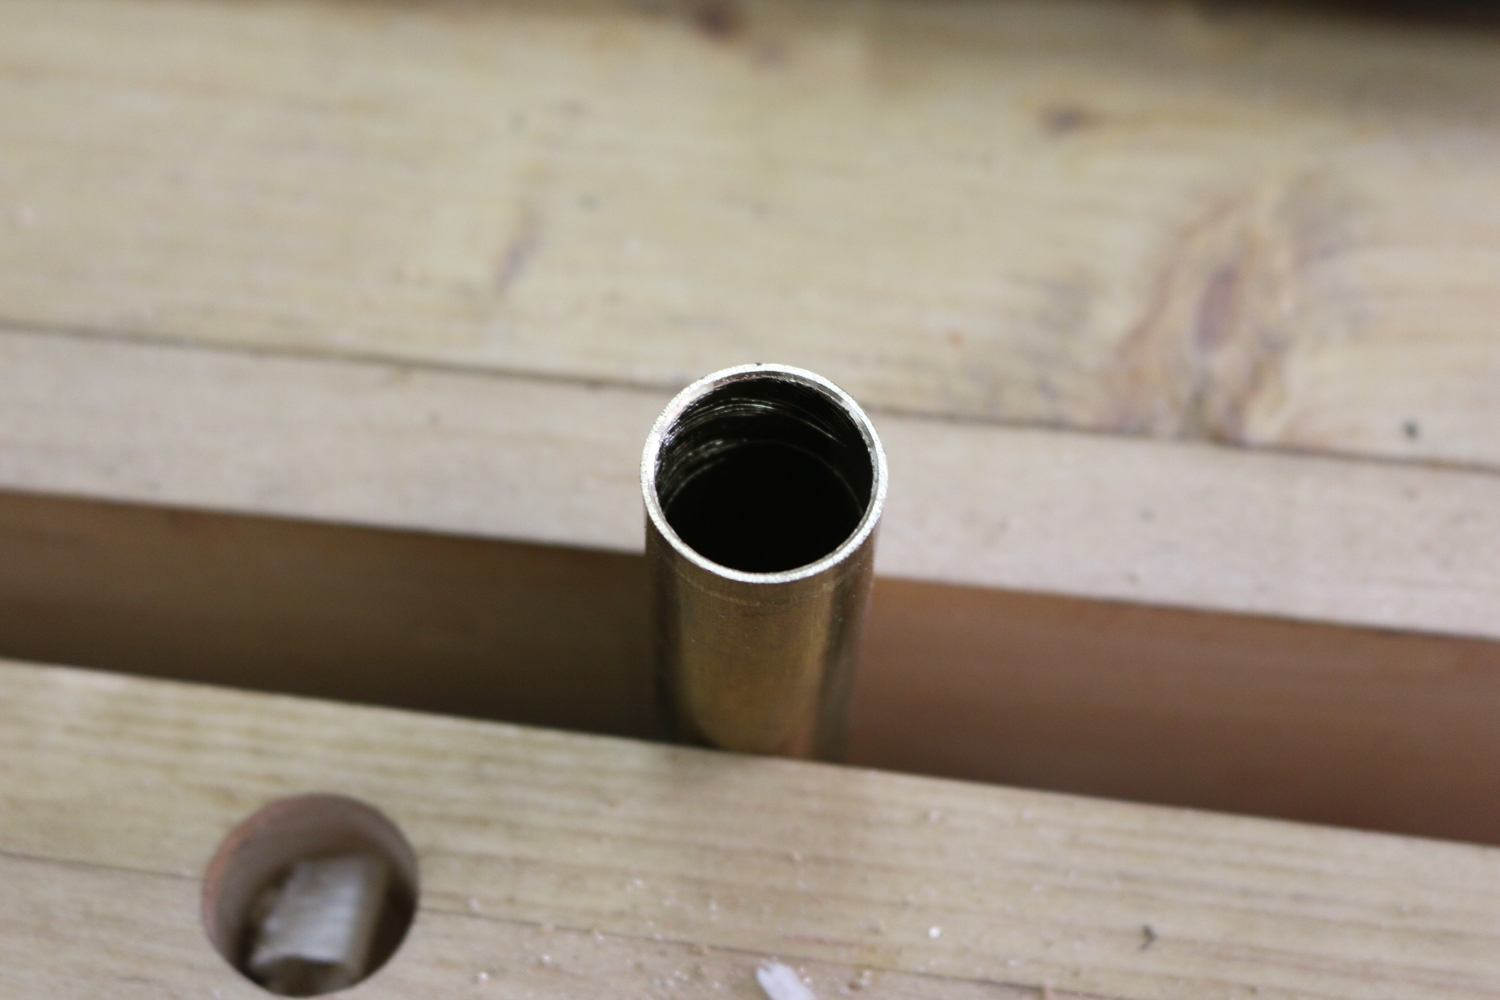
First, you can get to a local hardware store and ask for brass pipes. These should be dirt cheap and come in standard sizes. Make sure you measure the brass ferrule of other tools to get an idea of the diameter you need.
I bought a few sizes but ended up using the 13/16 brass pipe for my custom tool handle project.
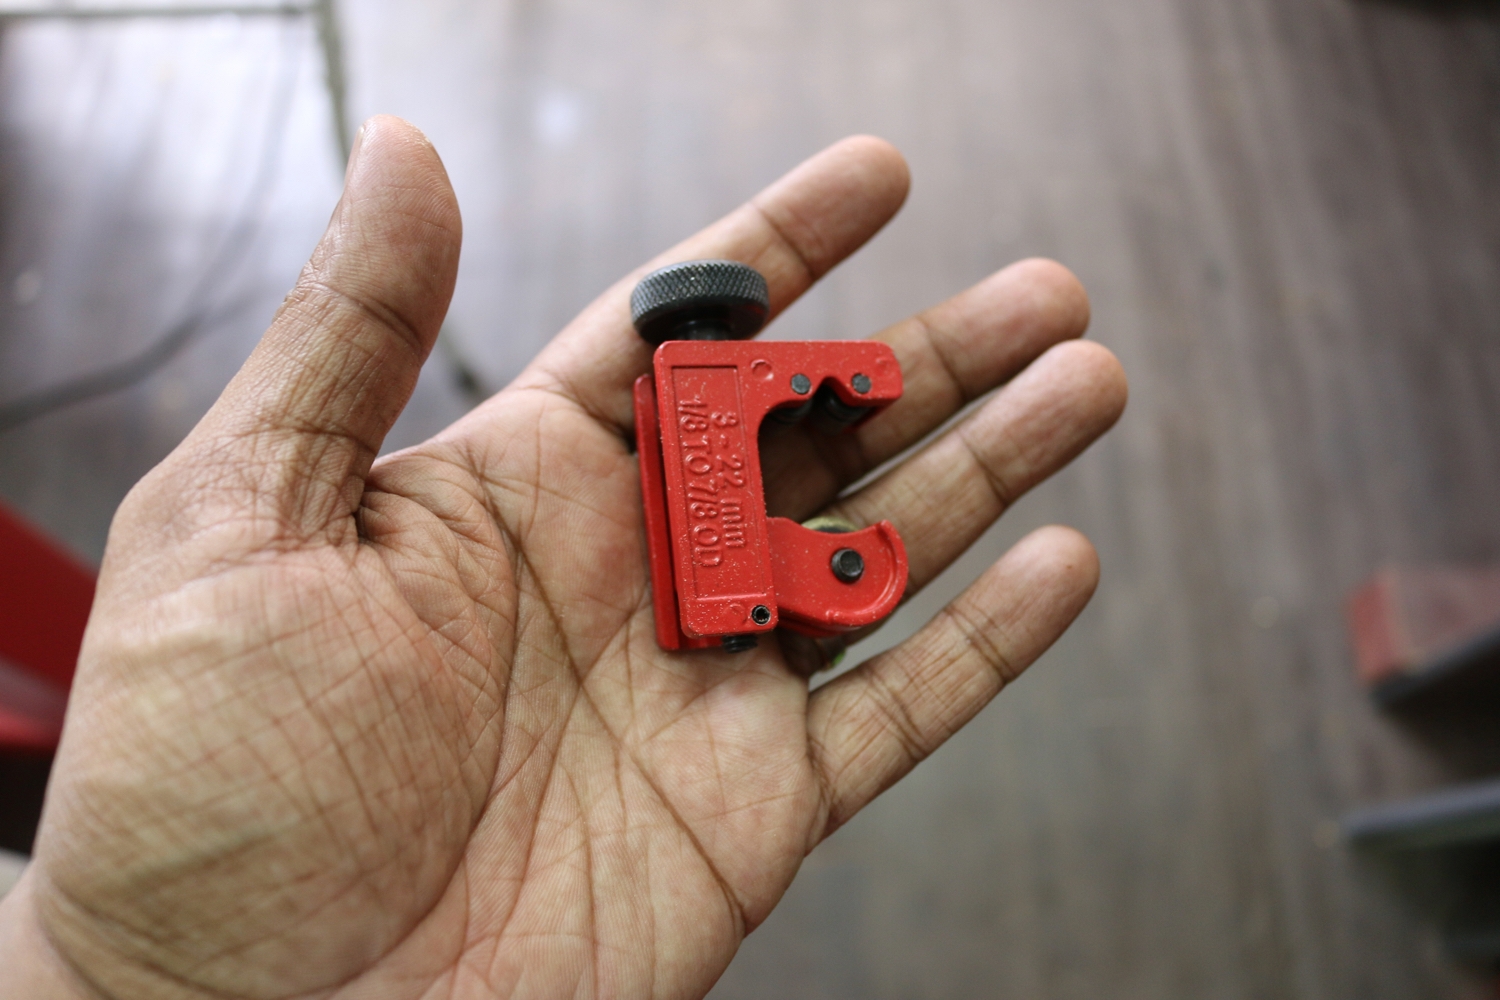
Next, you’ll need a pipe cutter. These are available from Amazon for about $9 or less. Avoid buying anything cheaper, as they usually have some alignment issues. It is a simple tool with rollers on one side and a cutter on the other.
It’s the most accurate, cheapest, and fastest way to cut your brass, copper, aluminum, and plastic pipes up to about 1 1/8″ in diameter.
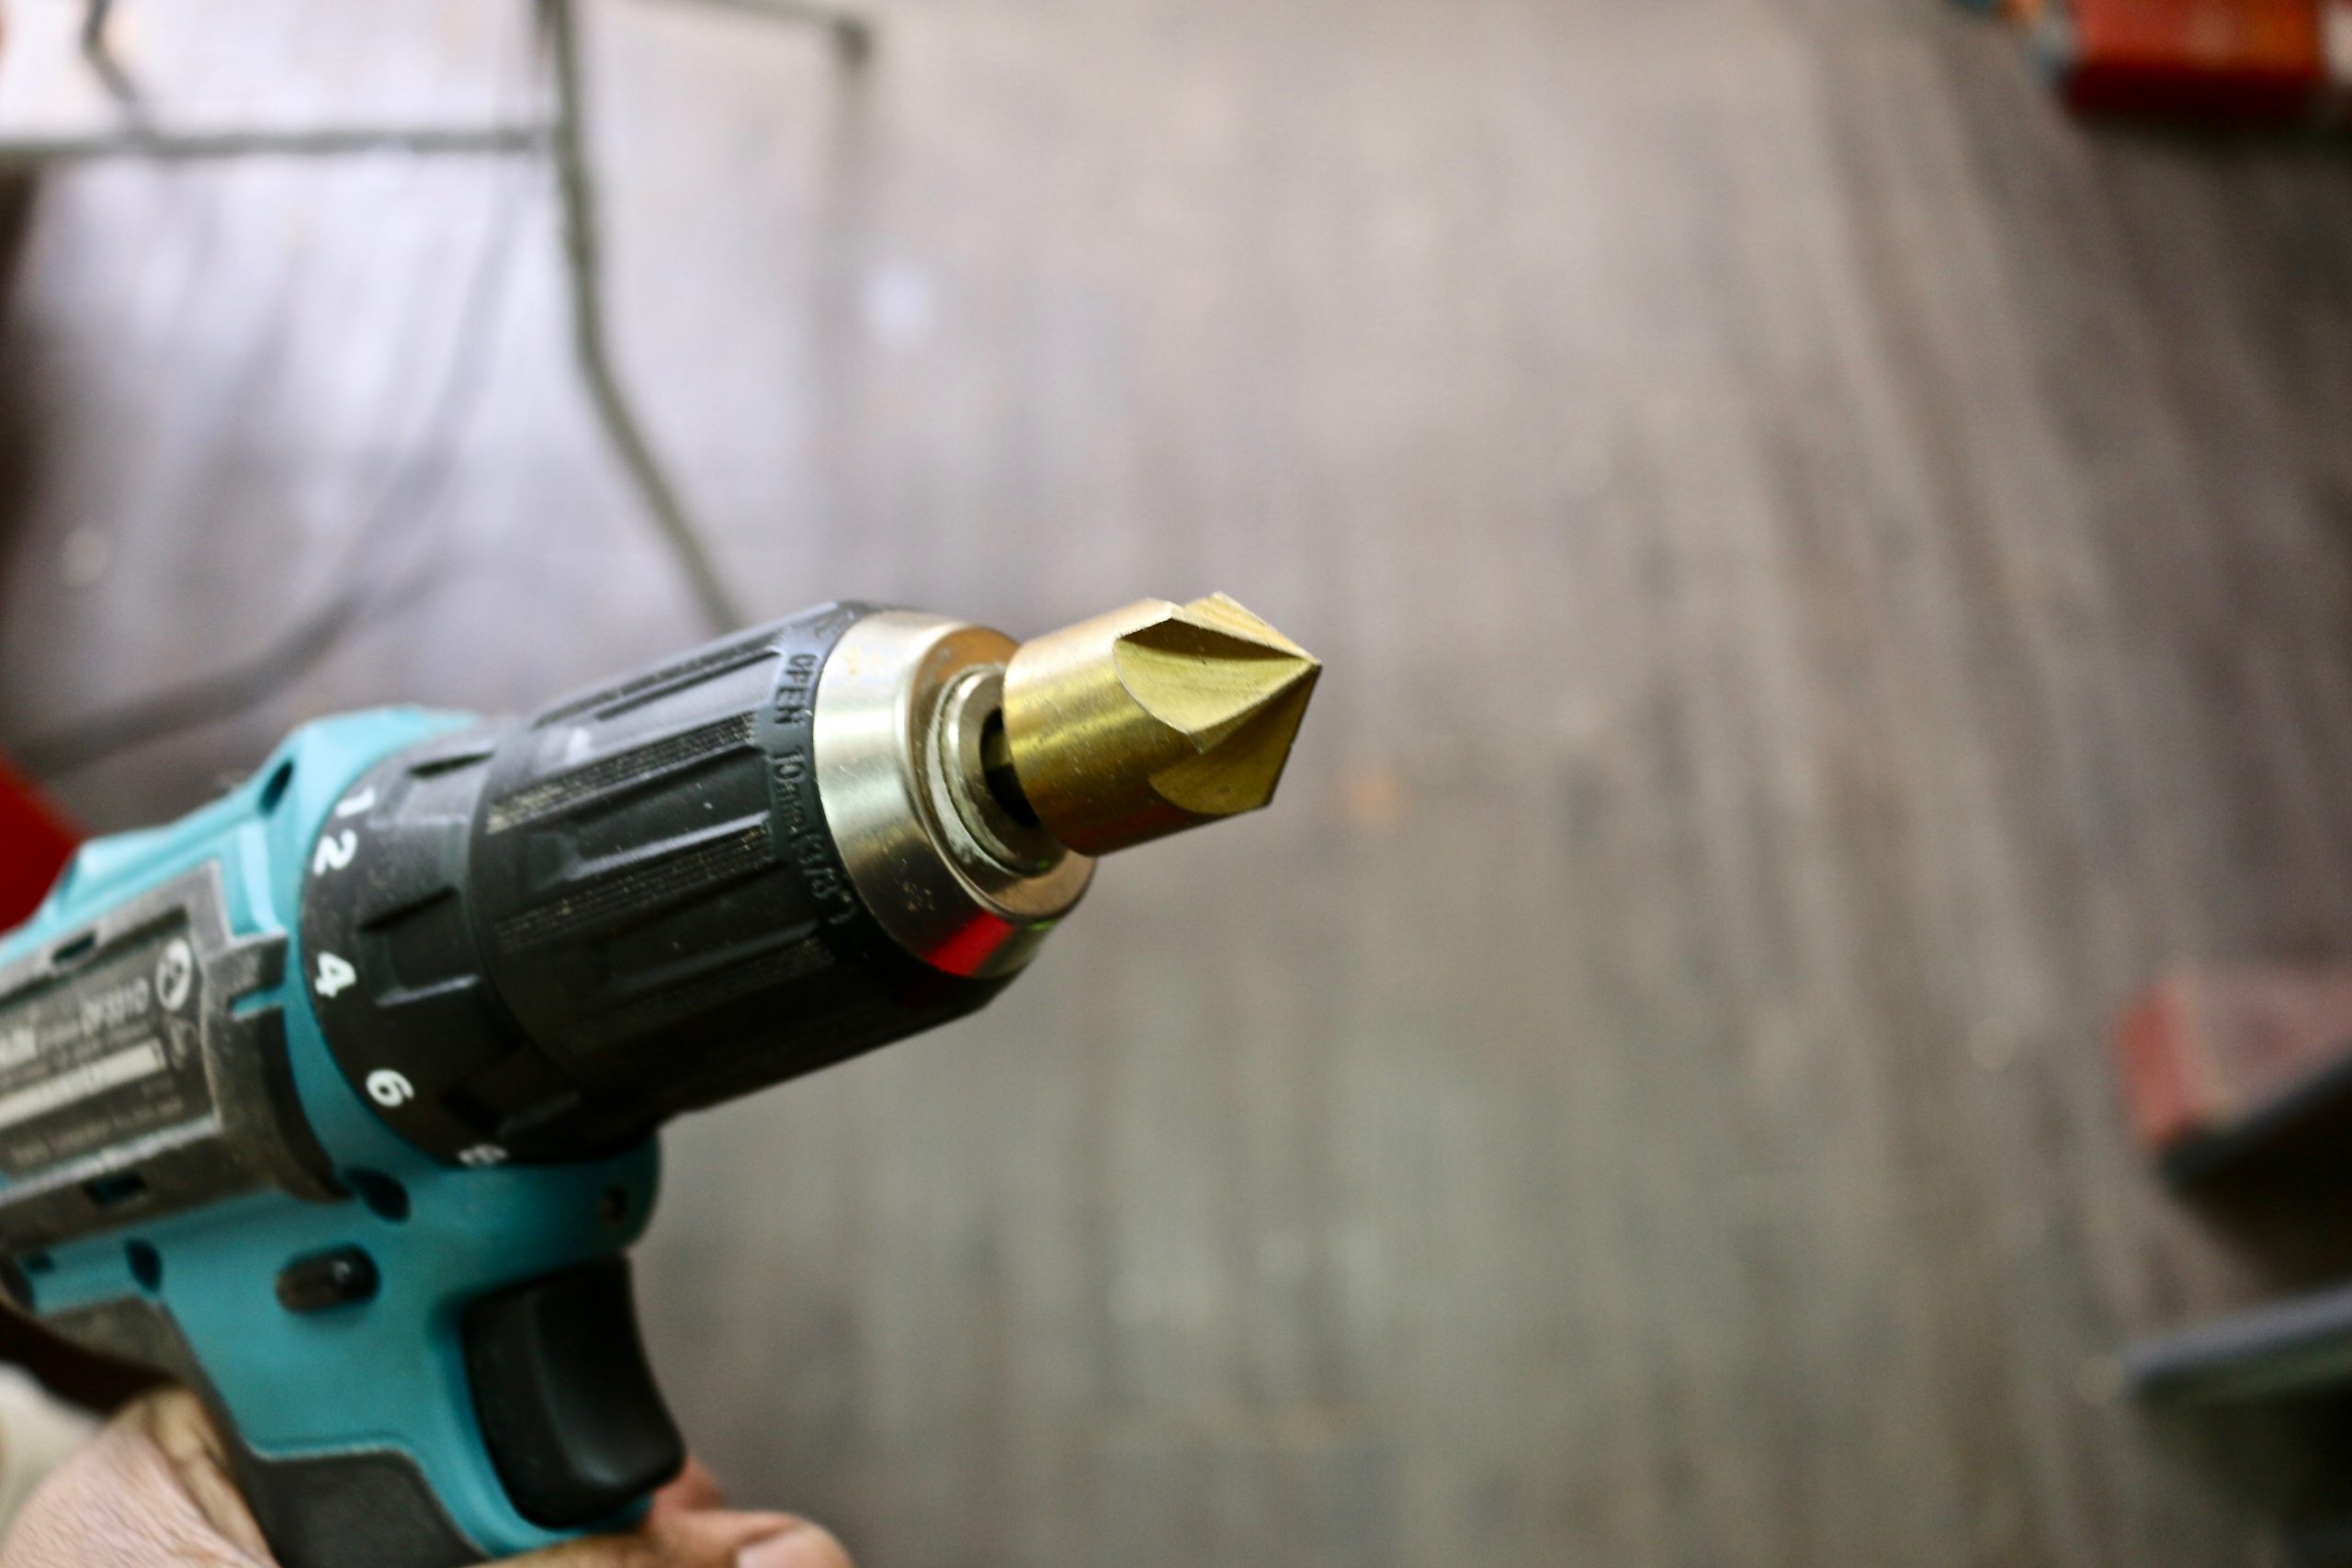
You’ll also need a countersink drill bit for your drill. These come in sets of 4 or 5 and make sure the largest bit is the same size or larger than the diameter of your pipe. If you can buy jut one bit, then get only the one you need.
These Irwin countersink bits have great reviews. There are cheaper options, but from my experience, they are not as sharp and require more effort to work.
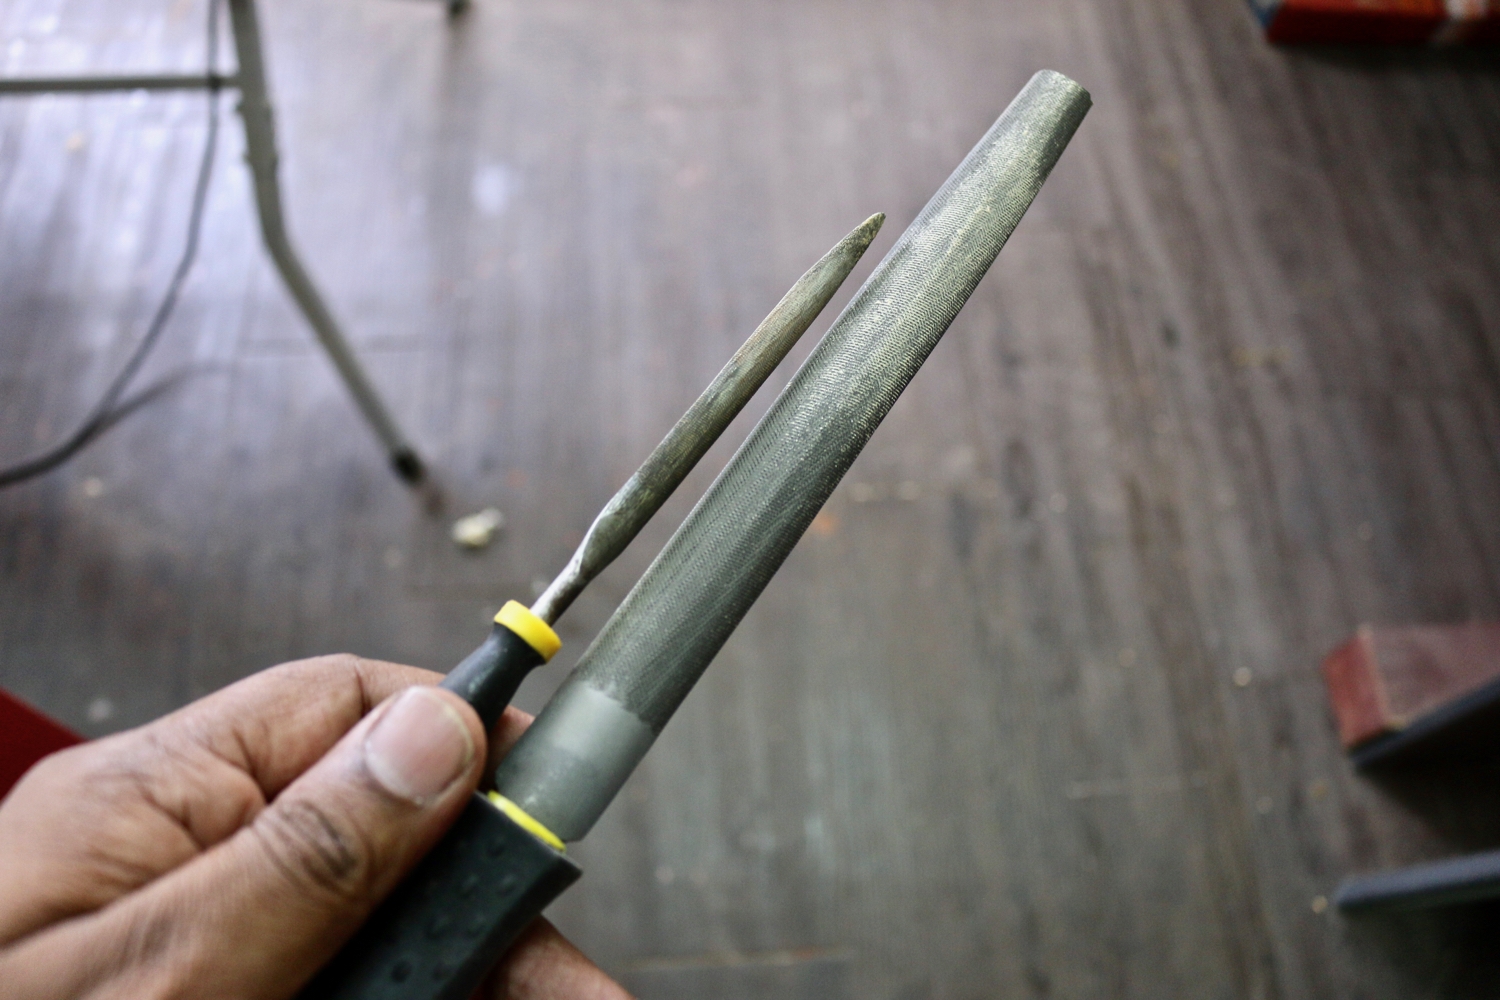
If you don’t want to get a countersink bit, just grab any half-rounded metal file you can find for removing burrs and bevelling the pipe.
Making Brass Ferrules for Tools Handles & Chisels
The first step is to clamp the brass pipe as low as possible on your bench. Leaving too much tube outside the clamp will create excessive vibrations. Then, using your drill and countersink drill bit, drill out a bevel.
The beveled side is the bottom part of your ferrule.
Bevelling will help a lot when you want to fit the brass ferrule onto your tool handle’s tenon. It’s a lot easier making the bevel before cutting off a small section of the pipe.

Next, measure and mark where you want to cut. If you plan on making a few ferrules, you can use the one you’ve already cut as a guide.
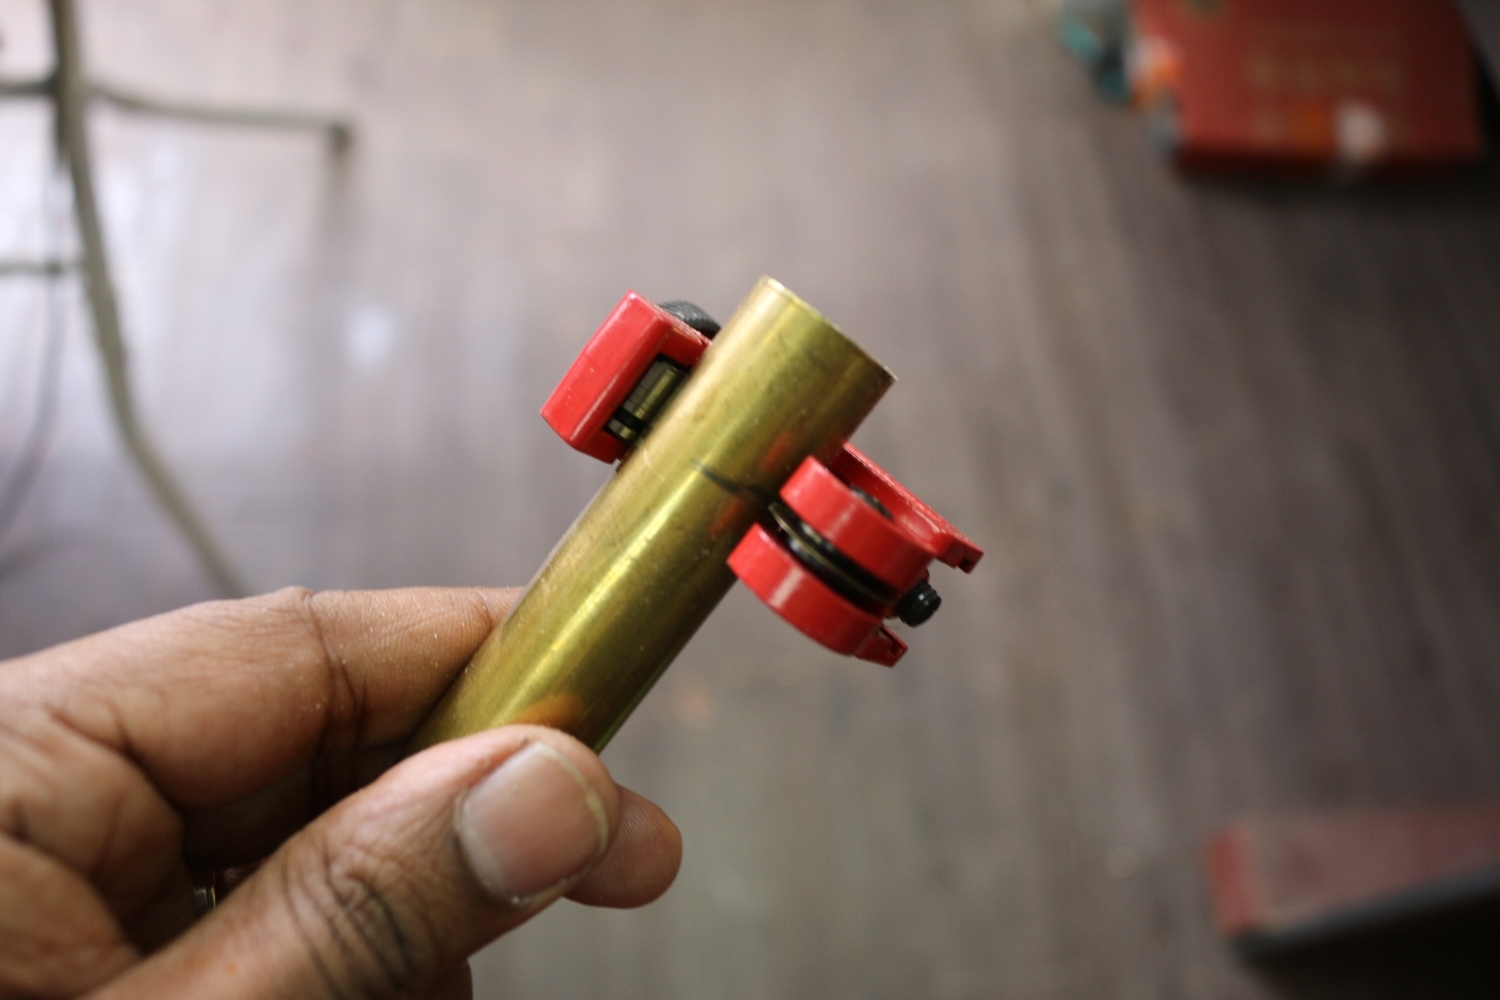
Next, tighten the pipe cutter with the cutting wheel precisely on the mark you’ve made. Hold the cutter in one hand, and rotate the brass pipe until it turns freely.
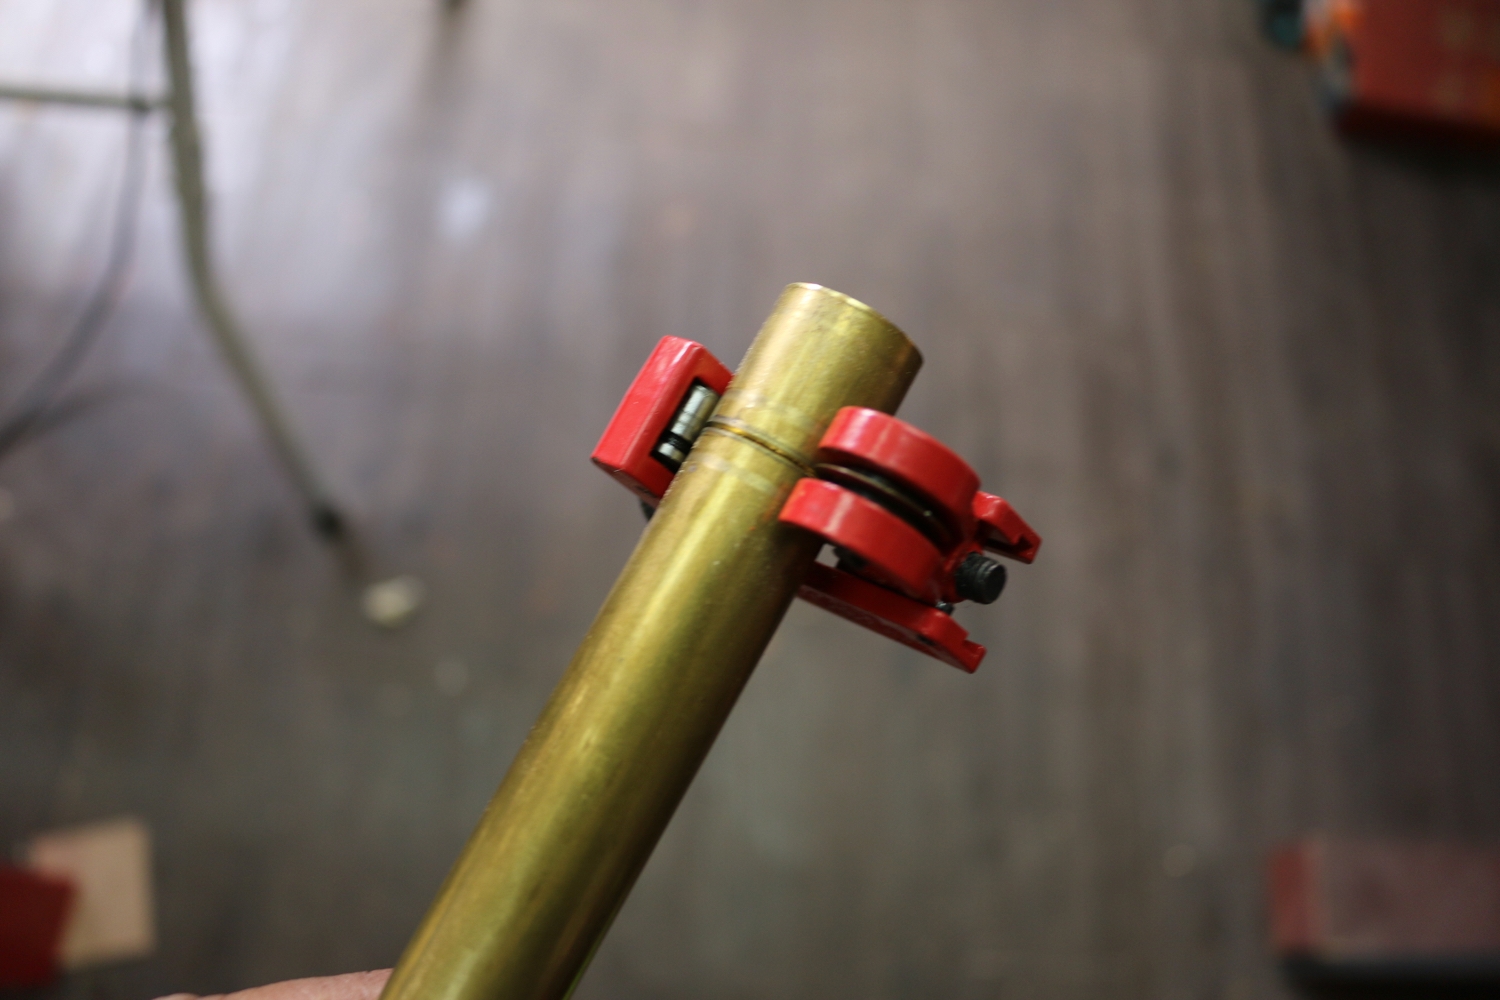
Then, tighten a bit more and rotate. After doing this for about 4-5 turns, you would have cut through the entire diameter of the pipe. I’ve tried cutting the pipe with a miter box and hacksaw, but using the pipe cutter is way easier and much more accurate.
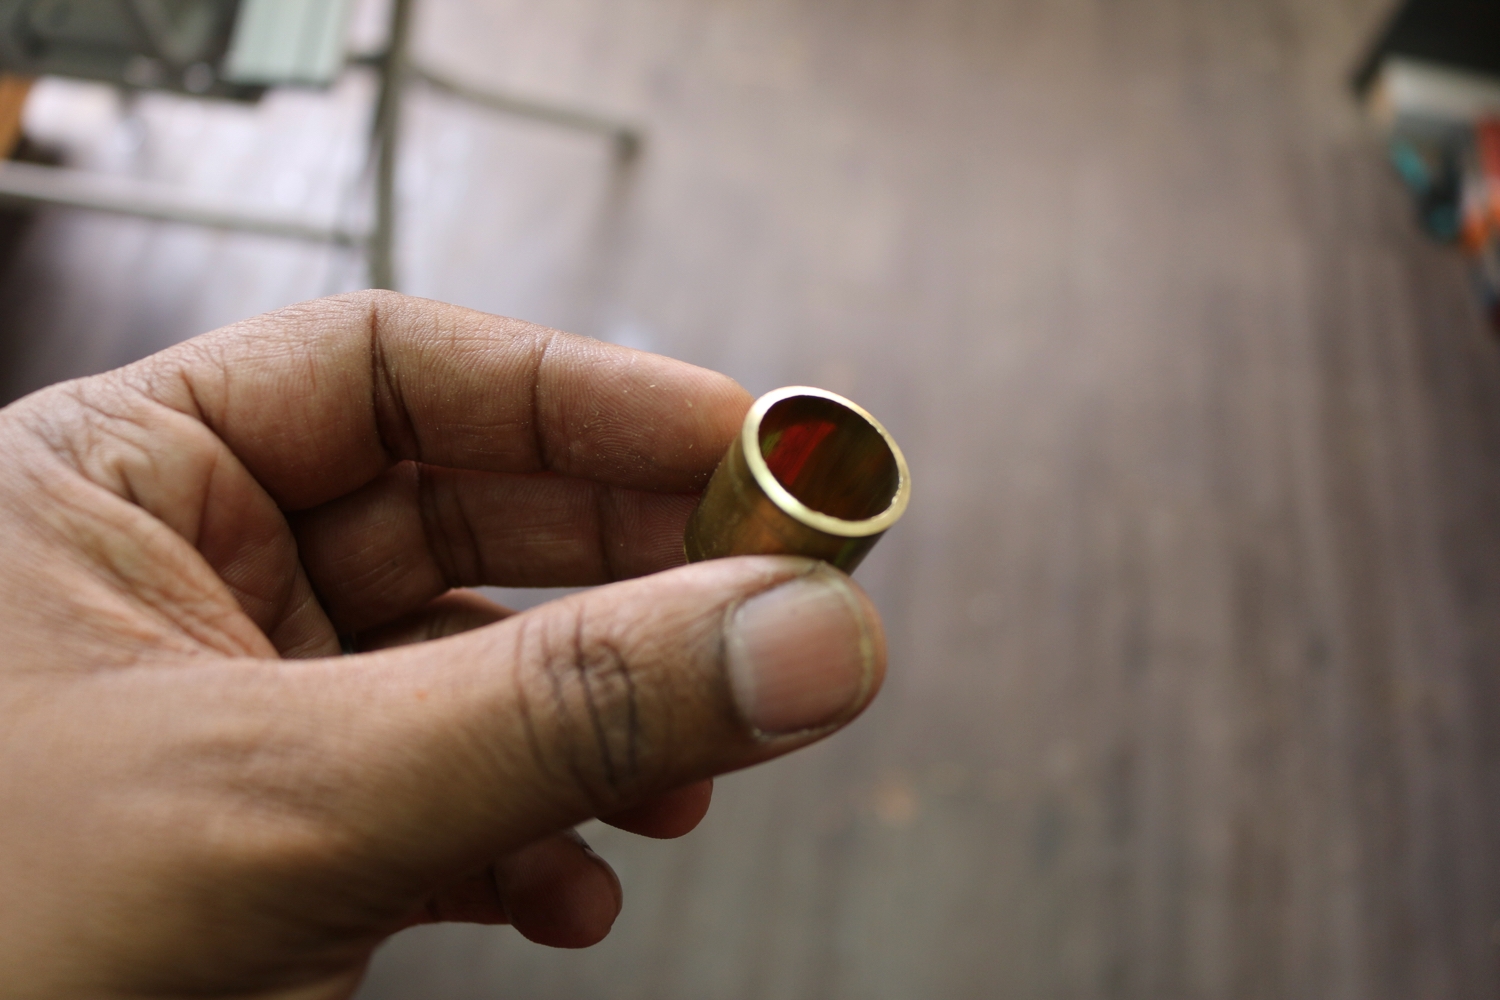
This will be the top end of your ferrule. You can de-burr it with your metal file, but do not bevel this end.

Repeat as much as required, and it keeps getting easier. If you’ve made a few oversized, don’t worry about it. Brass is soft; you can always file it or turn it away later when you’ve mounted the ferrule to your tool handle’s tenon.
The whole process of making these DIY brass ferrules for tool handles and chisels took only about 30 minutes. Excluding tools, they cost only a few cents, and I have almost 90% of the pipe left.
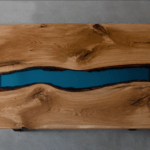
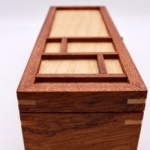
Now, I am ready to make my own custom wooden chisel handles!